Tuesday, May 21, 2013

Paper Cranes

I don't know about you, but as the school year winds down, I'm always in search of quick, 1- or 2-day projects that are still meaningful and fit curricular needs. I challenged my student teacher to come up with a few of these, and for the fifth graders, she opted to do a 2-day lesson on paper cranes.


The inspiration for the cranes came from the story of Sadako Sasaki. Sadako was just 2 years old when the first atomic bomb was dropped near her home in Hiroshima. Though she and her family survived, Sadako later succumbed to radiation sickness in the form of leukemia. While receiving treatment in the hospital, she and her roommate began folding paper cranes as per the Japanese legend that folding 1,000 paper cranes would make one's wish come true. Sadako died at just 12 years old, yet her memory lives on through her story, as well as the statue dedicated to her at the Hiroshima Peace Memorial Park.

Some of my fifth grade history buffs were eager to tie an art project into their knowledge of World War II, and all students respectively watched the following video to learn about Sadako:


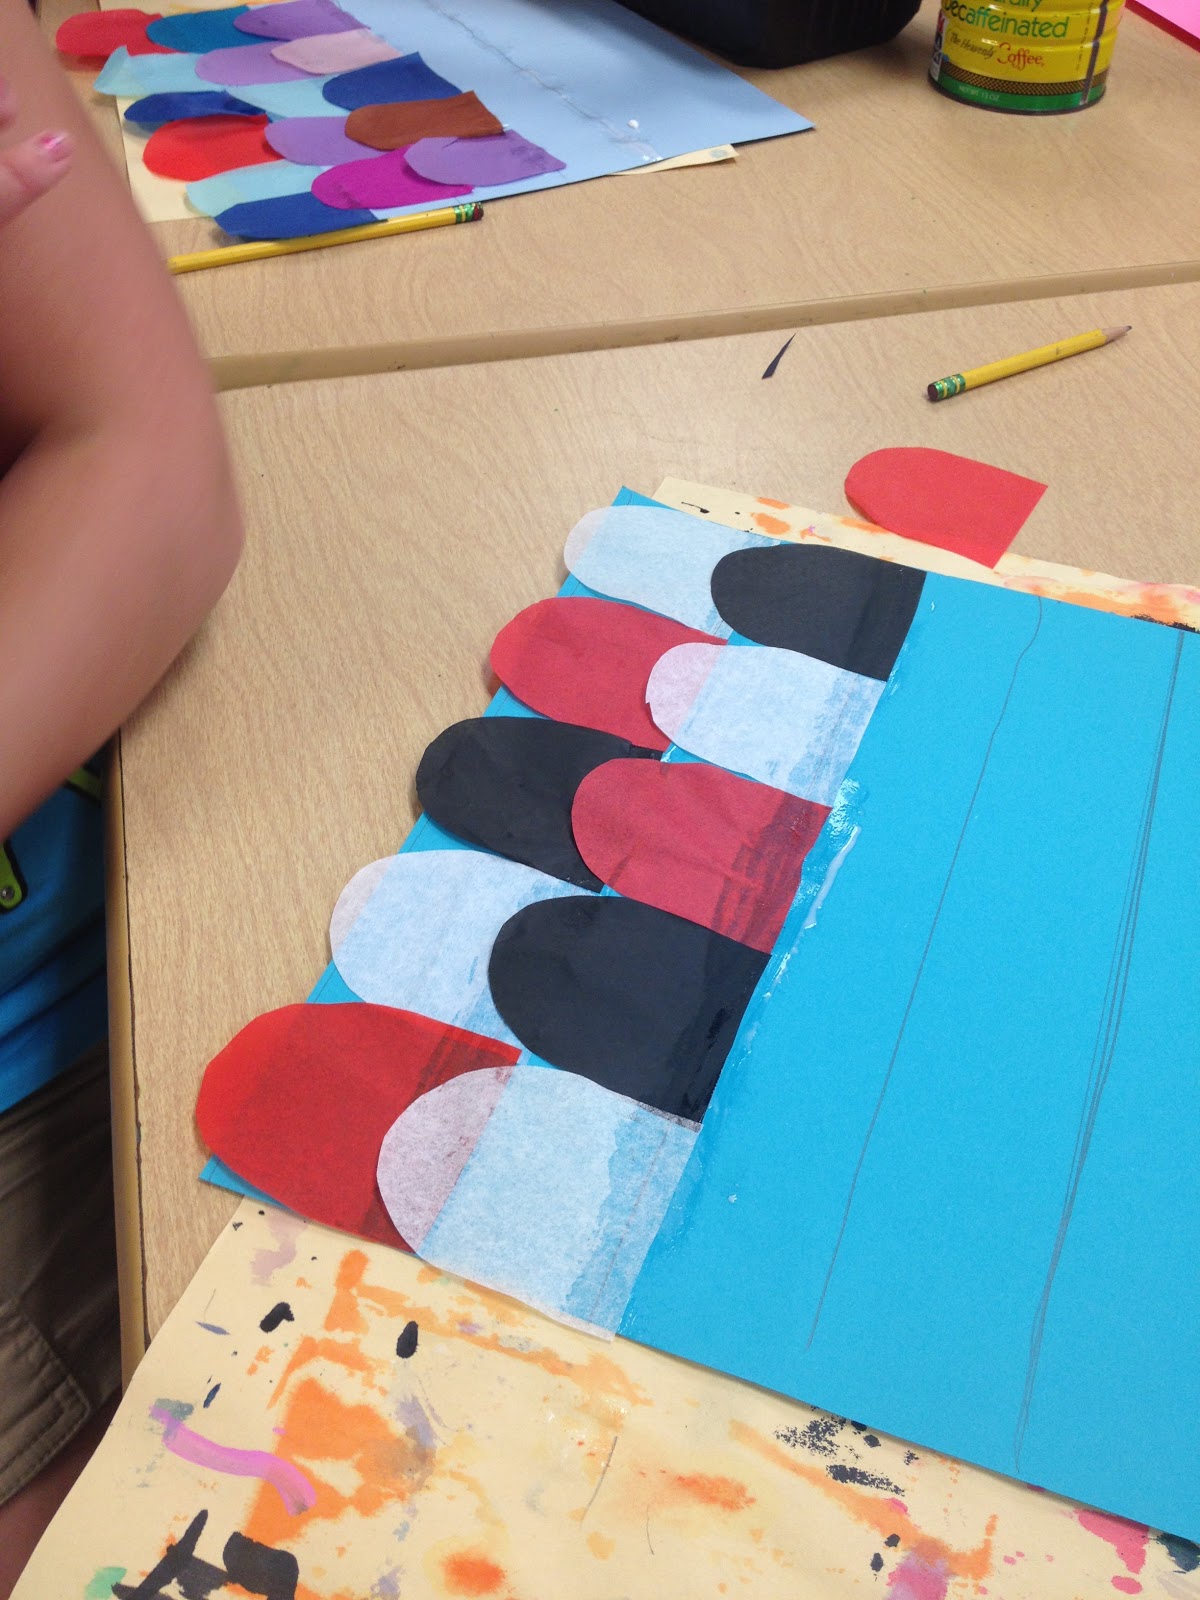
Students spent the rest of their class studying examples of traditional origami paper, then painted a sheet or two of 9 x 9" one-sided fadeless paper to make their own.


On the second day (our classes are 45 minutes each), I walked kids through the folding of a paper crane. (My student teacher made a rockin' PowerPoint to walk the kids through this, but if you need a tutorial for yourself, you can find a few on YouTube.) The kiddos did an awesome job and were thrilled with the way the wings of the crane flapped! I'm always impressed with the way some students pick up the folding steps and can whip up their own pieces after seeing the how-to just once.


What quickie projects do you turn to at year's end? I'll soon be starting a Pinterest board with ideas and would love to add yours!

Friday, May 17, 2013

Cave Drawing OR 2 Happy Animals!

Soon I'll be sharing a little bit about my first graders' foray into cave drawing. While we were doing the Lascaux-inspired drawings, a little boy asked if he could draw two animals instead of one. I said yes. I now regret that choice:


Happy Friday! :-)

Wednesday, May 15, 2013

Happy Birthday, Rudy!

I hope to share an educationally relevant post later this week (although it's Art Show time, a.k.a. AHHHHH), but till then...

Happy Birthday, Rudy Connell! You are the sweetest and most energetic nine pounds of life that I've ever encountered. You are soft, cuddly, and hilarious, and you bring us lots of joy. Yes, your stink breath could immobilize an army, your sleeping habits are unpredictable and heinous, and in a year you have chewed more books than I've read in my adult life... yet I love you so.


Happy 1st (does that make it 7th?) Birthday! Here's to many more! (Yes, my wiener dog reads my blog.)

Monday, May 13, 2013

If I had an iPad, ya ha deedle deedle, bubba bubba deedle deedle dummmmm

Yes, that is a Fiddler on the Roof reference. It's hard to make lyrical references in print, but I tried.
 Anyway, happy Monday, friends! Just four more weeks to go for me. Things are getting excitingggg!

Speaking of exciting, I just found out that the elementary specialists are getting iPads next year! Yeah baby! I'm definitely not on the cutting edge of technology, but I'm pretty pumped about this!

Oh Rudy, you're even cuter on an iPad.

I'm hoping to take an introductory iPad course over the summer, and I know of a few art teachers' i-resources: the Fugleblog, Theresa Gillespie (who is presenting at the online AOE conference, SO PUMPED!), the Teaching Palette. And they're great! What are your favorite iPad apps and functions for the elementary art classroom?

Now, because we don't yet have full class sets of iPads for my art classes to use, I'm more curious about ways that I can use the iPad to enhance my instruction. How can I use it as a teaching tool? Apparently, this "let's give all the specialists an iPad" idea is to avoid giving us SmartBoards. And while I'm fine with that--I don't really want a SmartBoard--I'm not quite sure how an iPad replaces a Smart Board. Thoughts?

How can I use the iPad to beef up what I do? C'mon, techies--hit me with your best shot.


Thursday, May 9, 2013

Japanese Carp Kites for Children's Day

Happy Children's Day! Or rather, happy four days after Children's Day. If you ask me, EVERY day feels like Children's Day, but that's probably just the result of being surrounded by 300 of them most every day, including the weekends, when they somehow find me at yard sales, the grocery store, out to dinner, and without fail, any time I'm makeup-free and crossing my fingers that I won't see anyone I know.

Regardless, I love the little boogers, and May 5th is their day--at least in Japan, where Children's Day is celebrated with the flying of colorful carp kites!


According to legend, the carp fish had the ability to transform into a dragon when it had swum against the current, climbing up dangerous waterfalls. The carp serves as a reminder of bravery and strength and serves as a symbol for the children of Japan.

My first graders make a version of these 'kites' each year. This year, it was my student teacher's job to get these kids' kites a-flyin' in celebration of this special day. There are many ways to make these, but here's what we did.

Kiddos started with a 12" square sheet of fadeless colored paper of their choice. Using a homemade ruler, a 4" strip was traced, followed by 2" strips:


Then, starting at the bottom and working upwards, one line at a time was covered with glue, which kiddos painted on with a paintbrush:


Working quickly to keep the glue wet, tissue paper scales were added; some kiddos chose a pattern of colors, while others went a random route:


Some were meticulous. Some, not so much.


Oh, sweet 6-year-olds. You and your ways.

Once all the scales were on, eyes were drawn. The eyes are my favorite part! I find that they tend to reflect the personalities of the artist who made 'em.


On the second day, kids finished up by adding "lips" (12" strips of paper) glued behind the eyes, as well as crepe paper tails:


To FINish (HA!), fish bodies were rolled and stapled closed, and string was added to the top for hanging. Their beautiful teacher may have helped with this part.


My toe thumbs are lookin' goooood in those shots. Humina humina.


So Happy Children's Day! Actually, Tuesday was National Teacher Appreciation Day, so out of the way, kids--happy belated TEACHERS' day! I hope you feel appreciated every day, teacher friends! :-)

Monday, May 6, 2013

Monochromatic Coil Pots AND Tips for Using Self-Hardening Clay

Like its cool cousin the pinch pot, coil pots are one of those projects that the vast majority of us probably do. There are many creative ways to jazz these stinkers up. But if you're like me, kiln-less, with 300 pounds of self-hardening/air-dry clay sitting in the corner staring back at you, the options are a bit more limited than our kiln-blessed amigos.

Luckily, this year, my student teacher arrived at the PERFECT time, ready to take over teaching just when third grade was ready to start the coil pot monotony fun! Thanks, Miss Caruso! :-)


We decided that to make the pots are little more interesting, we'd limit students' color choices. Miss Caruso ultimately opted to make the painting process monochromatic, and as is the case with many projects, the presence of boundaries really fostered creativity! It was also a good review of the color mixing we had done earlier in the year (here and here).


If you're going to coil without a kiln, I have a few tips for ya:
  • Consider giving your kids a practice day. I have found it VERY beneficial to use modeling clay to practice, taking the time to teach the physical making of the coils and subsequent construction of the pot. You can also use this class period to talk about the history of clay/coiling, why someone might coil as opposed to pinch their vessel, etc.
  • I highly recommend using the slip and score technique. Otherwise, your coils are bound to come apart.
  • I mix a small amount of white vinegar into my slip, which seems to build a better bond. Granted, it makes the art room stink even more than the usual Sharpie/paint/children after recess scent with which we're all so familiar, but a little stink isn't so bad.
  • Have your kiddos build their pot atop a canvas or other textural base. Even the self-hardening stuff will stick to your smooth tables. If you don't have the dough to invest in canvas boards, or if you want to use what you have (and/or you're just cheap like me, bah haha), small pieces of rough wallpaper will do the trick! (I have stacks of wallpaper sample books and chop those pages up for each kiddo.)
  • Just in case, have a hot glue gun and lots of glue sticks ready for when any poorly-made pots are dry and a-crackin'! The air-dry clay tends to undergo some major separation as it hardens.
  • Paint your pots with acrylic paint. Or, if you prefer tempera, seal the pot with a layer of acrylic gloss medium when all the painting is done and dried.
Any air-dry gurus have anything to add?

And hey, if you're reading this and you, too, are fire-free and are thinking, "girlfriend, there are a thousand ways to skin the coil pot cat, I've got crazy creative ideas for you!" then please, enlighten me!

'Til then, enjoy the one-color wonders!


Friday, May 3, 2013

Oldenburg-Inspired POPsicles

Instead of doing a clay project with my fifth graders this year, I decided to have them do small sculptures, a la Oldenburg. I found this lesson via Pinterest and knew I wanted to try it!

Miss Caruso (my student teacher) taught this one from start to finish and did a great job! To begin, she shared with the kids some Pop Art, including photos of works from famed soft sculptor Claes Oldenburg. She did an awesome job getting the kids to guess what materials were used, and how big the sculptures are in person. We found this video, which the kids loved:


Next up, she had the kids make their very own twin pops!

Using a toilet paper roll (or paper towel roll cut in half lengthwise), each kid smashed and folded their tube, then cut it to the proper shape:


Then closed off the entire top and bottom middle with masking tape:


Stuffed it with paper towel pieces to give some body:


And glued in some popsicle sticks to finish 'er off:


On the second day, kids painted their first coat of acrylic paint:


While the first coat dried, students worked on brainstorming their own proportion-funky sculptures via a worksheet that Miss Caruso developed. By the end of class, second coats had been added.


On the third and final day of the project, kiddos added other colors to finish off their Pop Art popsicles!


The majority of pops aren't very realistic (despite discussing this point and encouraging students to make a popsicle that a grocery chain might actually want to sell) and some of them are sloppy, but the kids liked making them and were thoroughly exposed to Oldenburg, sculpture, and Pop Art. So while I might alter the painting stipulations if I do it again, overall, I'm happy with the results.


And now I'm hungry. Again.