Wednesday, May 1, 2013

Tin Foil Tiffany Lamps

I had this post all ready to go yesterday but for whatever reason could not publish it. Yesterday was that kind of day, it seemed. I blame my three-day weekend, which was so fabulous that my normally super fun blessing of a job is just paling in comparison. Home improvement, dining out, visits from family, yard sales, and the full first season of Downton Abbey do a wonderful weekend make. (Ohhhhmagoodness totally hooked on Downton, by the by. I might have start a new blog dedicated to my newfound love for it. Keep your eyes peeled for that mess.)

But alas, here we are, and I do have a great new project to share! I first found the idea here on ArtMuse67, a sweet blog to which you should probably devote your planning period (or evening... whilst watching Downton... duh).

We did our lamps a little differently, as I didn't have myself a stack of acetate. Instead, I raided my pantry for tin foil, on which my husband recently stocked up because he's an amateur extreme couponer and got it for 19 cents a roll. I love him.

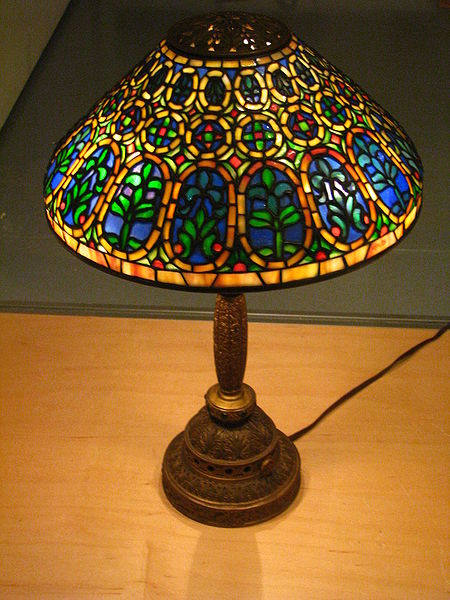
To begin, kiddos studied photos of Tiffany lamps, pointing out their similarities and characteristics. Some of the boys did the "this is girly" boy-whine, but were quickly schooled on the fact that Louis Comfort Tiffany was a man, and a very successful and wealthy man at that!

source 

source


Then, everyone cut a symmetrical lampshade-ish shape from a piece of oak tag. Sharp and pointed edges were to be avoided as much as possible to prevent the soon-to-be-added foil from ripping. For the rest of class, kiddos worked on sketching a design for their shade.


On the second day, everyone covered their shade with glue stick glue, followed by foil, which was wrapped around the edges and secured on the back with masking tape.


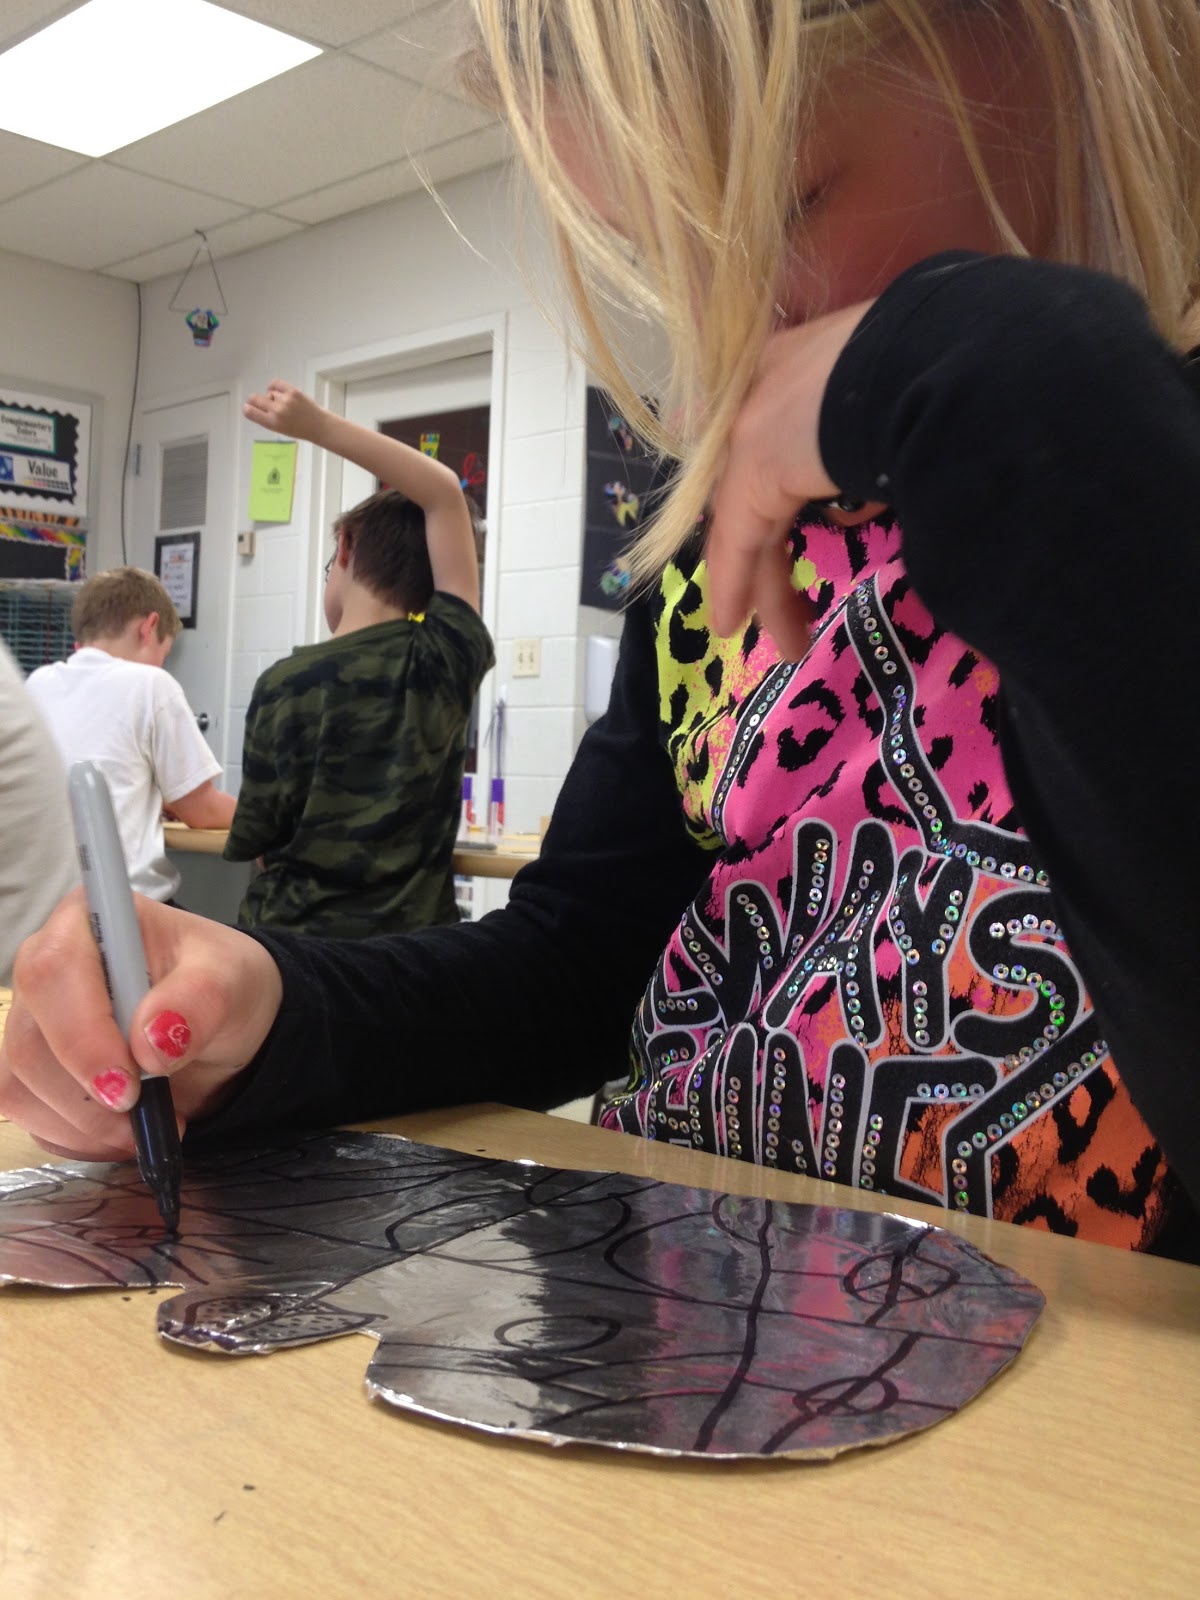
Then came Sharpie Palooza 2013! After designs were re-drawn on the foil shades with black Sharpie, students were allowed to choose up to four colors to use for filling in the blanks.



When the shade was complete, it was time to cut a bilaterally symmetrical black lampstand. A few kiddos even added a little pull chain! Some kids finished this in three 45-minute classes, while others needed some extra time. But the wait was worth it--check these out!


As students finished up, I showed this clip from "Antiques Roadshow:"


How precious are those ladies! God bless 'em. I hope my mama has a Tiffany lamp hidden from me somewhere.

Anyway, my super student teacher taught this project from start to finish and I was completely jealous the entire time. I may or may not have made multiple examples while the kids worked 'cause it's just that much fun! Judging by the results, I think the fourth graders agreed:


Now if you'll excuse me, I have some fictional WW1-era characters to think about projects to grade.

Thursday, April 25, 2013

Chameleon Sculptures!

My student teacher is working on Chameleon Sculptures with the second grade, and I'm just as nuts for them this year as last! It's great for working those tactile skills, forming a sculpture that the kids TOTALLY DIG, and studying a little science. (For next year, I've ordered Chameleon's Colors and A Color of His Own to use, adding a literary connection.)

This is a popular project that I've seen on several blogs: Artolazzi, smART Class, and Art with Ms. Gram are a few.

Taking a cue from other teachers, we used the following video to get pumped!


That music gets me every time.

Assembling the chameleons is a little time consuming and can be difficult for some kiddos, but it's totally worth it. For step-by-step instructions, I highly recommend any of the websites mentioned above; Ms. Gram provides a nice graphic for assembling these little lizards.


At one point, a group of girls all started to whine about the folding part, saying, "we can't do this!" So I said:
Mrs. Connell: "Oh good, that's what every teacher wants to hear--I can't!"
2nd graders: "Haha, noooo, you're being silly!"
Mrs. Connell: "You're right. I was being sar--"
2nd grader: "Casket!"

It's true; I am very sarcasket.

On the second day, kiddos finished decorating and cutting their bodies before creating legs...


Making eyes...


And adding a tongue to finish 'em off!


For whatever reason, we had very few early finishers this year, whereas last year the kids were manufacturing these suckers like nobody's business. In that instance, I told kiddos to make their new pet a birth certificate. Not only does this incorporate a little writing, but it's hilarious!


This project is awesome. Go do it right now! And if you need any more visual encouragement, here are two videos that my kids love:


I have major doubts about that last one being legit, but MAN-O-DAY, is it cool to watch! Does anyone else say "man-o-day"? My mother has said it for years and it makes zero sense to me. But now I say it. Uh oh.


Friday, April 19, 2013

Cherry Blossoms with 1st grade

Wherever you might be reading this today, I hope you and your loved ones are safe and sound. Hopefully the innocence and artwork of our students is enough to make this day a little brighter despite all the bad going on in the world this week.

My sweet, sweet first graders have been learning about Japan, studying the beauty of cherry blossoms. Of course, there are bunches of ways to do blossom-inspired projects...

Art with Ms. Gram
alphamom
Creative Jewish Mom

I like the following version for a few reasons. The kids LOVE it, the results are beautiful more often than not, and it's a quickie, taking just one 45-minute period from introduction to project completion.


My student teacher, Miss Caruso, taught this this year, and it was a lot of fun for me to observe! First, she talked to the kids about the blossoms as a gift from Japan and showed a few masters' works--Hiroshige, Hokusai, van Gogh.

Next up, the kids blew watered-down black tempera paint all around their papers. Miss Caruso found that using straws was tricky for some kids, so some of our classes freestyled:


On the morning we did this with one group, the school had hosted a "Donuts with Dad" event, so everyone had sweet, sugary breath. Gross! Haha!

For the blossoms, Q-tips and pink paint were all it took to turn these black spider veins into beautiful branches!


For early finishers, a short video showed them a sped-up version of the same project:


These are always a huge hit in the annual art show. More on that soon!