Showing posts with label acrylic. Show all posts

Wednesday, June 12, 2013

Animal T-shirts

When I moved into my position six years ago, one of the first grade teachers approached me about painting T-shirts as an end-of-the-year activity. As a naive first-year teacher trying to please, I said yes. Oh, Rach.

Enough drama--it's not so bad. In fact, sometimes it's a lot of fun! The kids love it and use the T-shirts as a life-size yearbook, signing the backs of one another's shirts and wearing them as school winds down.

This year's Field Day theme was 'animals,' so I grabbed that opportunity and ran with it, turning T-shirt time into a full-fledged lesson on pattern...

White tigers!


Giraffes!


And Dalmatians, oh my!


I couldn't be there on Field Day (I was at the other building, womp womp) but word on the street is that the first graders showed up everyone else with their rockin' tees!

Monday, May 6, 2013

Monochromatic Coil Pots AND Tips for Using Self-Hardening Clay

Like its cool cousin the pinch pot, coil pots are one of those projects that the vast majority of us probably do. There are many creative ways to jazz these stinkers up. But if you're like me, kiln-less, with 300 pounds of self-hardening/air-dry clay sitting in the corner staring back at you, the options are a bit more limited than our kiln-blessed amigos.

Luckily, this year, my student teacher arrived at the PERFECT time, ready to take over teaching just when third grade was ready to start the coil pot monotony fun! Thanks, Miss Caruso! :-)


We decided that to make the pots are little more interesting, we'd limit students' color choices. Miss Caruso ultimately opted to make the painting process monochromatic, and as is the case with many projects, the presence of boundaries really fostered creativity! It was also a good review of the color mixing we had done earlier in the year (here and here).


If you're going to coil without a kiln, I have a few tips for ya:
  • Consider giving your kids a practice day. I have found it VERY beneficial to use modeling clay to practice, taking the time to teach the physical making of the coils and subsequent construction of the pot. You can also use this class period to talk about the history of clay/coiling, why someone might coil as opposed to pinch their vessel, etc.
  • I highly recommend using the slip and score technique. Otherwise, your coils are bound to come apart.
  • I mix a small amount of white vinegar into my slip, which seems to build a better bond. Granted, it makes the art room stink even more than the usual Sharpie/paint/children after recess scent with which we're all so familiar, but a little stink isn't so bad.
  • Have your kiddos build their pot atop a canvas or other textural base. Even the self-hardening stuff will stick to your smooth tables. If you don't have the dough to invest in canvas boards, or if you want to use what you have (and/or you're just cheap like me, bah haha), small pieces of rough wallpaper will do the trick! (I have stacks of wallpaper sample books and chop those pages up for each kiddo.)
  • Just in case, have a hot glue gun and lots of glue sticks ready for when any poorly-made pots are dry and a-crackin'! The air-dry clay tends to undergo some major separation as it hardens.
  • Paint your pots with acrylic paint. Or, if you prefer tempera, seal the pot with a layer of acrylic gloss medium when all the painting is done and dried.
Any air-dry gurus have anything to add?

And hey, if you're reading this and you, too, are fire-free and are thinking, "girlfriend, there are a thousand ways to skin the coil pot cat, I've got crazy creative ideas for you!" then please, enlighten me!

'Til then, enjoy the one-color wonders!


Friday, May 3, 2013

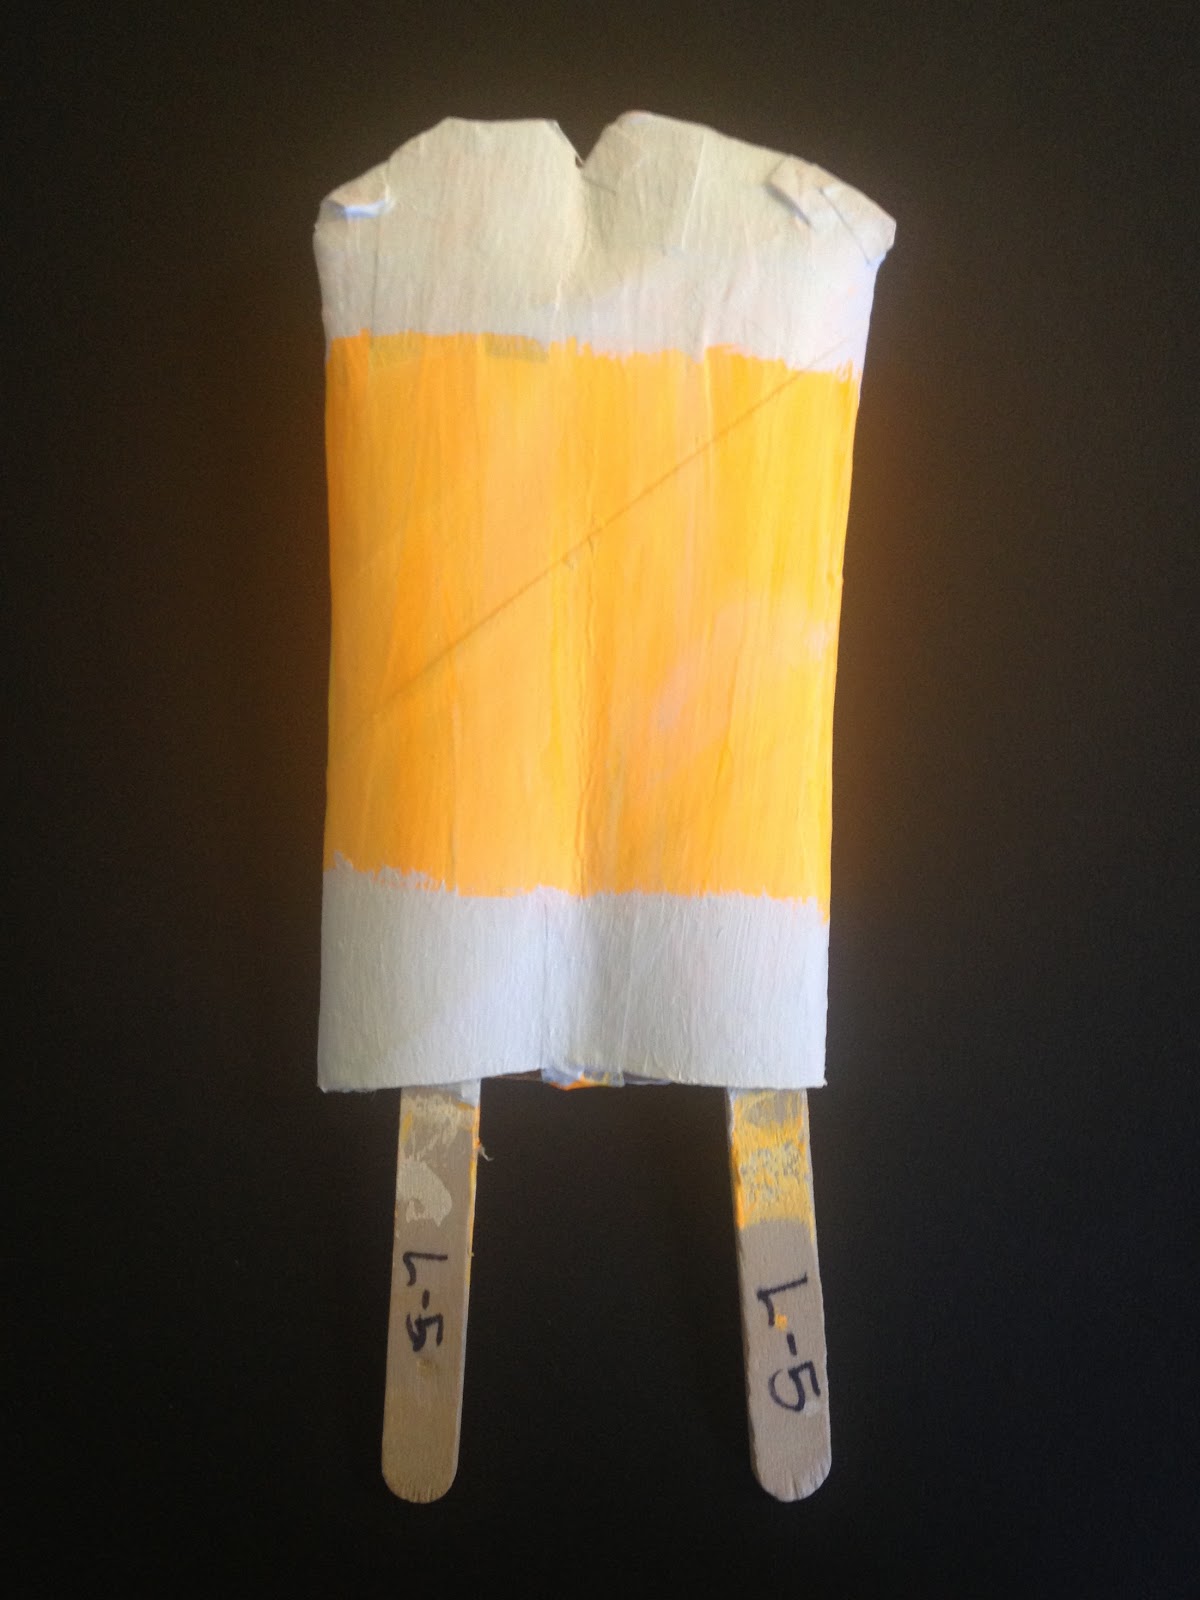
Oldenburg-Inspired POPsicles

Instead of doing a clay project with my fifth graders this year, I decided to have them do small sculptures, a la Oldenburg. I found this lesson via Pinterest and knew I wanted to try it!

Miss Caruso (my student teacher) taught this one from start to finish and did a great job! To begin, she shared with the kids some Pop Art, including photos of works from famed soft sculptor Claes Oldenburg. She did an awesome job getting the kids to guess what materials were used, and how big the sculptures are in person. We found this video, which the kids loved:


Next up, she had the kids make their very own twin pops!

Using a toilet paper roll (or paper towel roll cut in half lengthwise), each kid smashed and folded their tube, then cut it to the proper shape:


Then closed off the entire top and bottom middle with masking tape:


Stuffed it with paper towel pieces to give some body:


And glued in some popsicle sticks to finish 'er off:


On the second day, kids painted their first coat of acrylic paint:


While the first coat dried, students worked on brainstorming their own proportion-funky sculptures via a worksheet that Miss Caruso developed. By the end of class, second coats had been added.


On the third and final day of the project, kiddos added other colors to finish off their Pop Art popsicles!


The majority of pops aren't very realistic (despite discussing this point and encouraging students to make a popsicle that a grocery chain might actually want to sell) and some of them are sloppy, but the kids liked making them and were thoroughly exposed to Oldenburg, sculpture, and Pop Art. So while I might alter the painting stipulations if I do it again, overall, I'm happy with the results.


And now I'm hungry. Again.